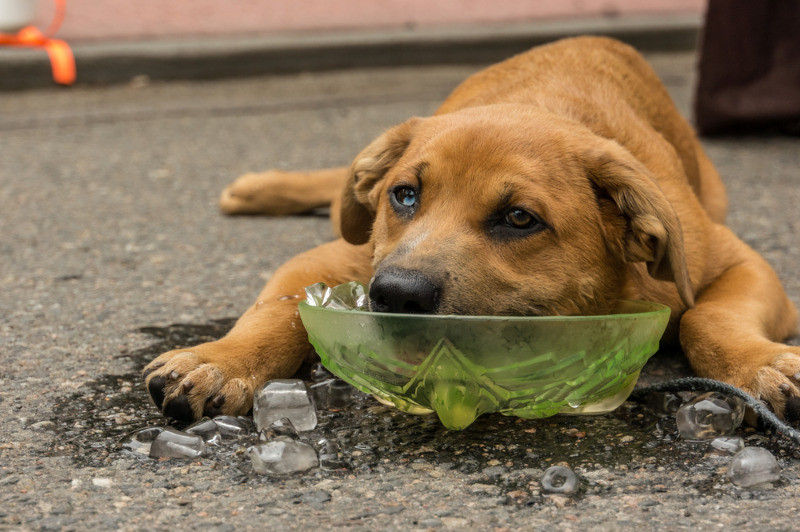
Fleas are pesky, persistent, and can drive your furry friend absolutely bonkers. If your dog has been scratching like crazy or you’ve spotted those tiny jumpers in their coat, it’s time to take action. Giving your dog a flea bath isn’t just about getting rid of the bugs—it’s about making your pup comfortable, healthy, and happy again. But how do you do it the right way without turning bath time into a battlefield?
Let’s break it all down. From prepping your bathroom to picking the right shampoo and washing away those nasty critters, we’re covering every step. By the end of this guide, you’ll be a pro at flea-busting bath sessions, and your dog will thank you (with fewer itches and more tail wags).
Understanding the Importance of a Flea Bath
Why Fleas Are More Than Just a Nuisance
You might think fleas are just a mild inconvenience—some itching, some scratching, and then they go away, right? Not quite. Fleas are tenacious parasites that feed on your dog’s blood, and a full-blown infestation can cause real harm. These tiny insects can lead to:
- Skin irritation and infection: Constant scratching opens up your dog’s skin, creating entry points for bacteria.
- Flea allergy dermatitis: Some dogs are allergic to flea saliva, which leads to intense itching and discomfort.
- Anemia: In severe cases, fleas can suck enough blood to cause a significant drop in red blood cells—especially dangerous for puppies or small breeds.
- Tapeworms: Fleas often carry tapeworm eggs, which can infect your dog when they bite or lick at itchy spots.
This is why a flea bath isn’t just cosmetic—it’s a crucial step in protecting your dog’s health. It kills fleas on contact, stops the itching, and prevents more serious complications down the road.
Benefits of Regular Flea Baths
Giving your dog regular flea baths does more than kill fleas—it can help in maintaining overall coat health, especially during flea season. Regular bathing with the right flea shampoo:
- Reduces flea populations before they grow out of control.
- Breaks the breeding cycle, especially when combined with other preventive treatments.
- Keeps your dog’s coat clean and reduces odors caused by skin oils and flea dirt (those little black specks you might find on their skin).
- Improves comfort, helping your dog sleep better, eat more calmly, and generally feel less agitated.
Don’t wait until your dog is scratching nonstop. Think of flea baths as a regular part of their grooming routine—like brushing their teeth or trimming their nails.
Preparing for the Flea Bath
Gathering the Right Supplies
Before diving into the bath, make sure you’re fully prepared. Nothing ruins the process like realizing mid-bath that you’re missing something essential. Here’s your quick checklist:
- Flea shampoo: Choose a vet-approved product designed specifically for dogs.
- Towels: You’ll need at least two—one for drying and one for under your dog to prevent slipping.
- Comb or flea comb: For detangling and checking for remaining fleas post-bath.
- Gloves (optional): To protect your hands, especially if your dog has sensitive skin or wounds.
- Cup or sprayer: For rinsing thoroughly—water pressure should be gentle.
- Leash or harness: Useful for keeping your dog in place, especially for larger or more anxious pups.
- Treats and toys: Because your dog deserves a reward after enduring the bath!
Having all these items ready before starting makes the process smoother and faster. Remember, once your dog is wet, you won’t want to leave them alone to grab missing supplies.
Setting Up a Safe Bathing Area
Not all dogs love water, and some downright hate it. Whether you’re using a tub, sink, or even an outdoor space, make sure it’s safe and secure.
- Use non-slip mats to prevent slipping and sliding, which could scare or injure your dog.
- Keep the water lukewarm. Hot water can irritate the skin, while cold water will make your dog uncomfortable and anxious.
- Block any exits if you’re outdoors—your dog may try to bolt when they realize what’s happening.
- Reduce distractions and loud noises, especially if your dog is easily spooked. A quiet, calm environment makes a huge difference.
If your dog is especially anxious or hyper, consider going for a walk beforehand to burn off excess energy. A tired pup is more likely to cooperate during bath time.
Choosing the Right Flea Shampoo
Natural vs. Chemical Flea Shampoos
When it comes to flea shampoos, you’ve got options. But which one is best for your dog? Let’s break it down:
- Chemical-based shampoos (like those with pyrethrin or permethrin) are highly effective at killing fleas on contact. However, they can be too strong for puppies, older dogs, or dogs with sensitive skin.
- Natural shampoos use ingredients like essential oils (eucalyptus, citronella, tea tree, or lavender) and tend to be gentler. They’re great for maintenance but may not work as well during a full-blown infestation.
Each type has its pros and cons:
| Shampoo Type | Pros | Cons |
|---|---|---|
| Chemical | Fast, highly effective | May irritate skin or cause allergies |
| Natural | Gentle, often smell better | Less potent for severe cases |
What to Look for on the Label
Reading the label isn’t just about checking the brand. Look for:
- “Kills fleas and ticks on contact” or similar claims.
- Age and weight restrictions—some products aren’t safe for puppies or small breeds.
- Active ingredients—make sure you recognize them or look them up.
- No parabens, sulfates, or artificial dyes, especially if your dog has allergies.
Avoid shampoos with vague ingredients or no active flea-killing components. Also, steer clear of products meant for cats—they often contain chemicals toxic to dogs.
Step-by-Step Guide to Giving Your Dog a Flea Bath
Step 1 – Calm Your Dog Before Bath Time
If your dog starts shaking at the sound of running water, you’re not alone. Many dogs hate bath time. That’s why setting the right mood is key.
- Use a soothing voice and offer treats before even turning on the tap.
- Gently brush your dog’s coat before the bath to remove tangles and loosen fleas.
- Desensitize them by taking them into the bath area a few times without actually bathing them. Let them associate the space with good things—like toys and praise.
- Keep it low-stress: Avoid chasing, yelling, or dragging your dog to the tub. If they associate bath time with fear, it’ll only get harder.
Remember, your calm energy rubs off on them. The more chill you are, the more likely they’ll be to relax too.
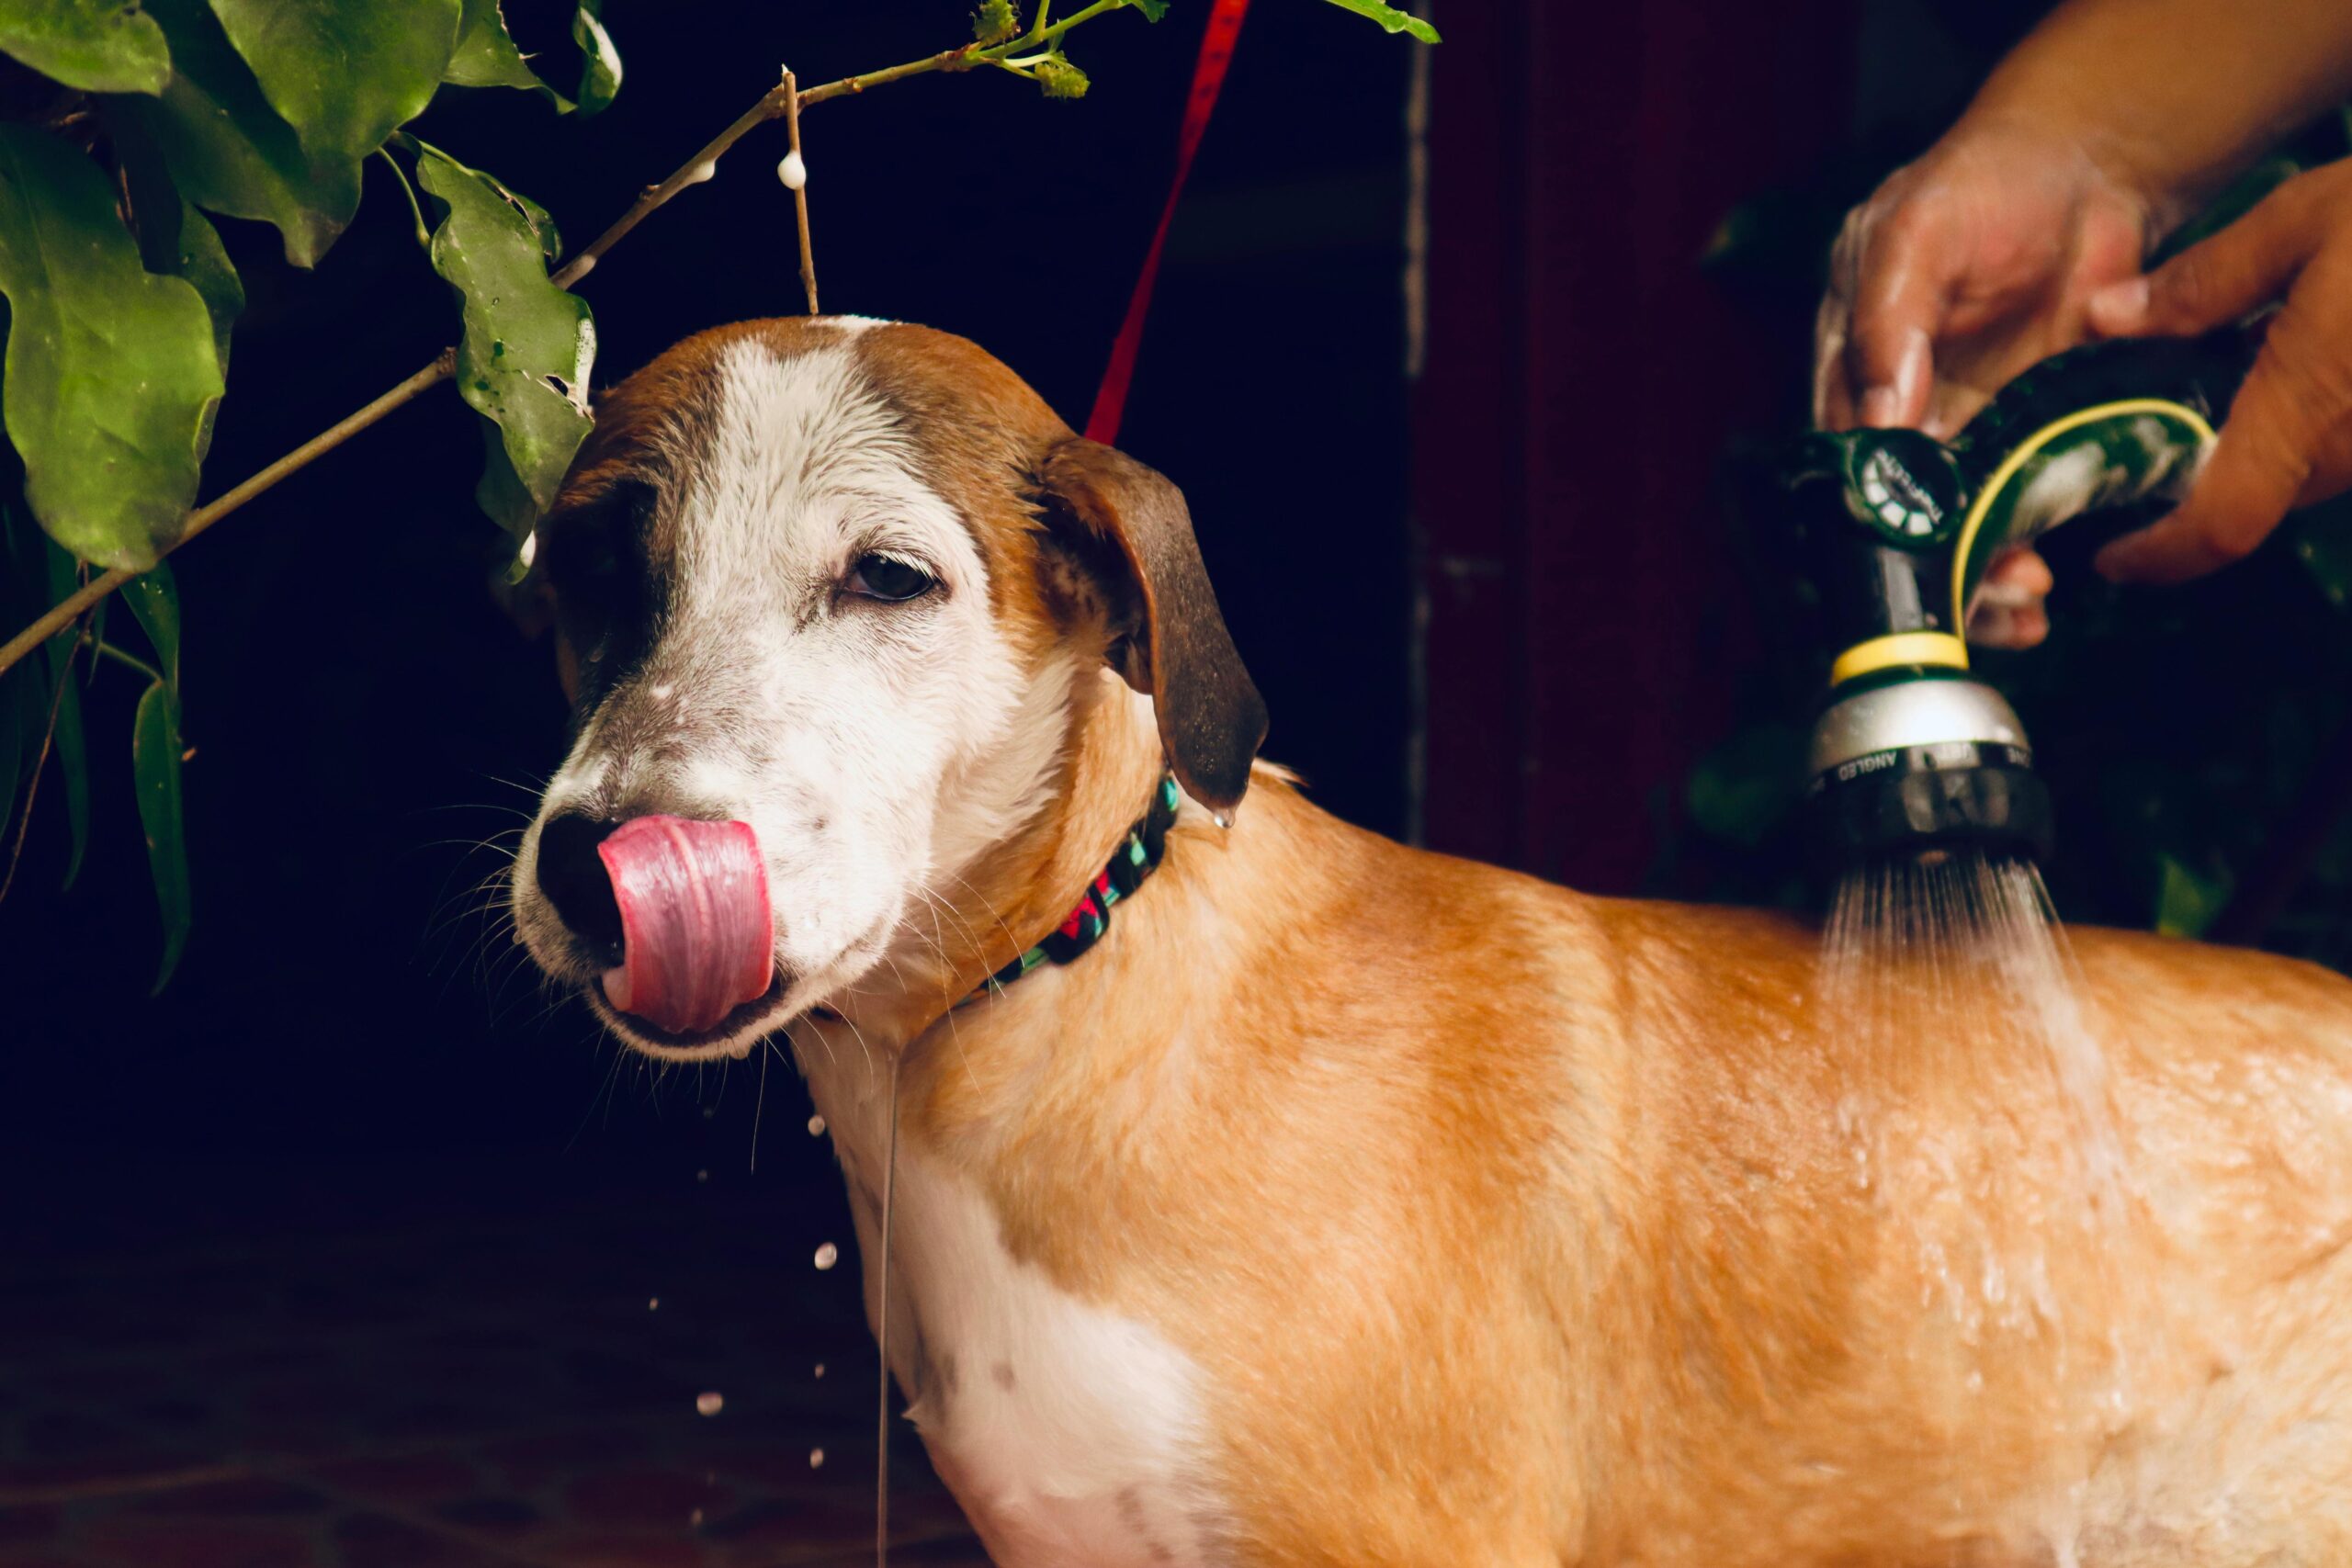
Step 2 – Wet Your Dog Thoroughly
Once your dog is calm and in the tub, it’s time to get them wet—but this isn’t just a quick splash. Proper soaking is crucial to make the flea shampoo work effectively.
- Use lukewarm water—not too hot, not too cold. Think baby bath temperature.
- Start from the neck down. Avoid soaking the head and ears right away to keep your dog calm.
- Make sure every part of the coat is drenched, especially the underbelly, tail, and behind the ears—these are flea hotspots.
Why thorough soaking matters:
Fleas have a waxy exoskeleton that repels water. A quick splash won’t cut it. You need the fur and skin fully saturated to ensure the shampoo penetrates and sticks to the fleas.
Pro Tip: Apply a ring of shampoo around your dog’s neck before wetting the rest. This creates a “flea barrier,” preventing fleas from fleeing to the head area when they sense water.
Don’t rush this part. Take your time to ensure water reaches every layer of your dog’s coat, especially if they have thick fur or a double coat.
Step 3 – Apply Flea Shampoo Correctly
Now that your dog is fully wet, it’s time to bring in the flea shampoo. This is where the magic happens—but only if you do it right.
- Start at the neck: Apply shampoo and massage it into a full ring around your dog’s neck to stop fleas from migrating upward.
- Work your way down: Apply shampoo along the back, chest, underarms, belly, and tail.
- Use your fingers to massage the shampoo deep into the fur and down to the skin. Fleas hang out close to the skin, not just on the surface.
- Don’t forget hard-to-reach spots: Behind the ears, under the chin, between the toes, and near the groin area are flea hiding zones.
Make it a spa moment—massaging the shampoo into your dog’s coat isn’t just effective, it can also be relaxing for them. Keep your tone calm and reassuring throughout.
Important: Avoid the eyes, nose, and inside of the ears. If shampoo gets into these areas, rinse immediately with clean water.
Step 4 – Lather and Wait (Timing Is Everything)
Here’s where most people go wrong: they rinse too soon. Don’t be one of them. For flea shampoo to work, you have to let it sit and do its job.
- Check the instructions on the bottle—most shampoos require 5 to 10 minutes of lathering time.
- Keep lathering during this time: Don’t just sit and wait. Use the waiting time to scrub areas where fleas love to hide.
- Use a flea comb during this step if your dog has a light infestation. You may be able to remove fleas as they start to loosen.
Why timing matters:
The active ingredients in the shampoo need time to penetrate the flea’s exoskeleton and reach their nervous system. Cutting the time short means you might not kill all the fleas, and some could survive to reinfest your pup.
If your dog starts to get antsy, offer reassurance and treats. A gentle massage and calm voice go a long way during this “soak” time.
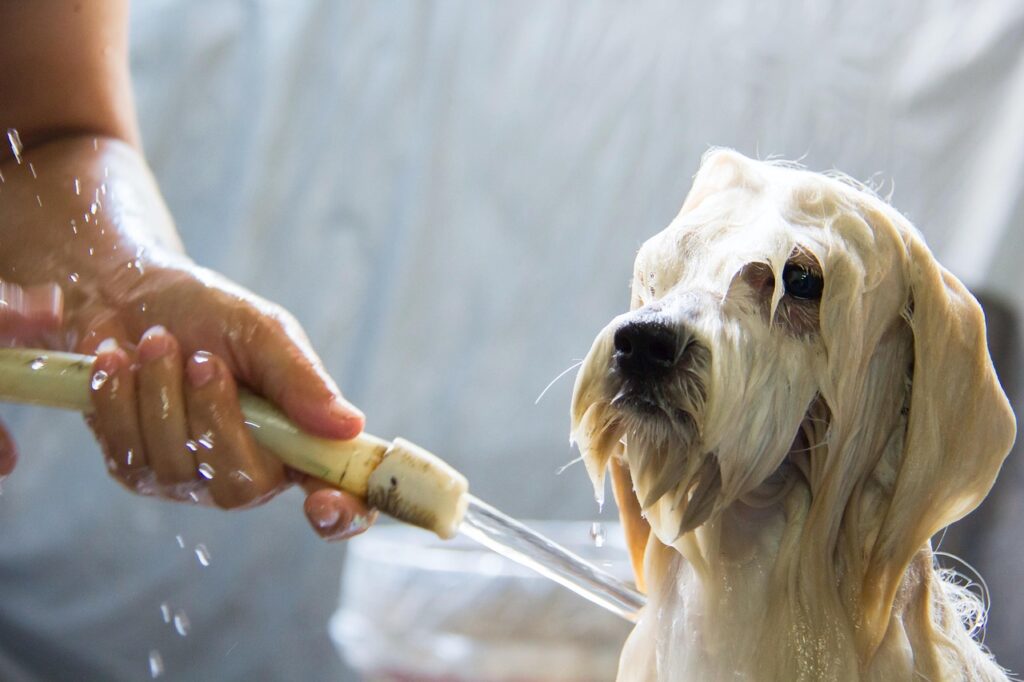
Step 5 – Rinse Well and Re-check
When the timer’s up, it’s rinse time—but not just a quick rinse. This step is just as important as applying the shampoo.
- Use plenty of lukewarm water and rinse from head to tail.
- Keep rinsing until the water runs clear—no more foam, shampoo, or flea dirt should be visible.
- Rinse twice if needed. Leaving shampoo residue behind can irritate your dog’s skin and make them itchy, defeating the purpose of the bath.
After rinsing, take a close look:
- Use a flea comb to check for any remaining fleas.
- You might see dead fleas in the tub or caught in the fur. That’s a good sign—it means the shampoo worked.
- If you still see live fleas, it may be time for a second round or a stronger treatment.
Once you’re satisfied, gently wring out excess water and move to the drying stage.
Post-Bath Care and Flea Prevention
Drying Your Dog Properly
Now that your dog is squeaky clean, it’s time to dry them off—but don’t rush this step. Proper drying isn’t just about comfort—it can help prevent skin issues and discourage fleas from coming back.
- Use a large towel to gently blot water from your dog’s coat. Rubbing can cause matting, especially in long-haired breeds.
- If your dog tolerates it, a blow dryer on the lowest heat setting can be used. Hold it at least 6 inches away from the skin.
- Pay close attention to areas like armpits and under the collar, where moisture tends to linger.
Damp fur can lead to irritation, fungus, or hot spots if left unchecked. Plus, fleas love moist environments. A fully dry dog is less hospitable to any surviving fleas.
Once dry, give your dog a good brush to remove loose fur, dead fleas, and flea dirt. It’s also a great bonding moment after a potentially stressful bath.
Comb Through to Remove Dead Fleas
Post-bath, it’s time to play detective. Even after a thorough wash, some fleas might still be clinging on—or dead ones might be stuck in your dog’s fur. That’s where a flea comb becomes your best tool.
- Use a fine-toothed flea comb, designed to catch fleas, flea eggs, and debris.
- Comb slowly and in sections, starting at the head and moving down to the tail.
- Pay extra attention to areas where fleas love to hide: behind the ears, under the chin, base of the tail, and belly.
- After each pass, wipe the comb on a white paper towel or rinse in soapy water to remove anything you catch.
Seeing dark specs? Press them with a wet tissue. If they turn reddish-brown, that’s flea dirt—proof of flea activity.
This step is crucial for:
- Making sure the bath was successful
- Removing leftover eggs or debris
- Relieving lingering irritation caused by flea bites
A post-bath comb through isn’t just a clean-up—it’s your quality control.
Follow-Up Flea Prevention Methods
Killing the fleas on your dog is only half the battle. If you don’t address the source, they’ll be back. Here’s how to make sure they stay gone for good:
1. Topical treatments or oral meds
Ask your vet about monthly preventatives like Frontline, NexGard, or Bravecto. These work by either killing fleas on contact or through your dog’s bloodstream.
2. Flea collars
Some flea collars, like Seresto, provide long-lasting protection. They’re great as an additional layer of defense, especially for outdoor dogs.
3. Home treatment
Vacuum carpets, wash bedding, and use flea sprays or powders around your home. Fleas lay eggs in the environment, not just on your pet.
4. Yard and outdoor control
Treat shady, grassy areas in your yard with pet-safe insecticides to kill larvae and eggs.
Remember: A single flea can lay 40–50 eggs a day, so one survivor could restart the infestation. Stay consistent with prevention to avoid another round of itchy chaos.
Common Mistakes to Avoid
Using Human Products on Dogs
It might be tempting to reach for your own shampoo when you’re out of dog shampoo, but that’s a serious mistake.
- Human shampoos—even baby ones—aren’t pH balanced for dogs and can strip their skin of protective oils.
- Some ingredients, like tea tree oil or essential oils, can be toxic to dogs in high concentrations.
- Human products do nothing to kill fleas unless they’re medicated specifically for dogs.
Instead, always use vet-approved flea shampoos, even if it means delaying the bath a day until you can get the right product.
Skipping Follow-Up Treatments
One bath won’t break the flea life cycle. Eggs, larvae, and pupae may still be hiding in your home or on your dog. That’s why it’s critical to:
- Use a monthly flea preventive after bathing.
- Clean your home and bedding thoroughly post-bath.
- Keep up with routine combing to catch any stragglers.
Failing to follow up is like mopping up a spill while the faucet is still running.
When to Seek Professional Help
Severe Infestations
If you’ve given your dog multiple baths and fleas are still hanging around, it may be time to call in the pros. Signs that the infestation is beyond your control include:
- Fleas visible in multiple areas of the home, not just on your dog
- Constant scratching or hair loss even after baths
- Bites on humans, especially around ankles or waistlines
- You see flea larvae or eggs in carpets or furniture
A professional exterminator or vet can help treat both your home and your dog more aggressively and safely.
Allergic Reactions or Sensitive Skin
If your dog shows signs of:
- Red, inflamed skin
- Hives or swelling
- Excessive itching or licking post-bath
- Lethargy or vomiting
You need to consult your vet ASAP. Your dog may have an allergic reaction to the flea shampoo or a skin infection caused by flea bites.
Some dogs have underlying conditions (like dermatitis) that worsen with certain products. Your vet can recommend medicated shampoos or prescription treatments tailored to your dog’s needs.
Natural Remedies as an Alternative
Essential Oils and Homemade Shampoos
Some pet owners prefer a more natural approach, especially for dogs with allergies or sensitive skin. Popular homemade flea remedies include:
- Apple cider vinegar spray
- Diluted lemon juice rinse
- Essential oils like lavender, eucalyptus, and cedarwood (in pet-safe concentrations)
Homemade flea shampoos often mix castile soap, water, and a few drops of dog-safe oils.
Benefits of going natural:
- Fewer chemicals
- Gentler on sensitive skin
- Often smells better
But be warned—not all natural remedies are safe. Some essential oils (like tea tree and clove) can be toxic to dogs if used incorrectly. Always research and consult your vet before trying DIY solutions.
Are They Safe and Effective?
The truth? Natural options are great for prevention and light infestations, but may not be strong enough to handle a serious flea problem. They’re best used in combination with other treatments, not as your only defense.
Use them to:
- Repel fleas between baths
- Soothe your dog’s skin post-bath
- Reduce chemical exposure for sensitive pups
Still, if fleas are out of control, natural remedies alone likely won’t cut it.
Keeping Your Home Flea-Free
Treating Bedding and Carpets
Killing fleas on your dog is only half the job—the other half is getting them out of your home. Fleas lay eggs in carpets, bedding, couches, and anywhere your pup likes to nap. If you skip this step, you’ll be caught in a frustrating cycle.
Here’s how to clean house like a pro:
- Wash all pet bedding in hot water every few days. Heat kills flea eggs, larvae, and adult fleas.
- Vacuum daily—yes, daily—for at least two weeks. Pay special attention to:
- Rugs and carpets
- Upholstered furniture
- Cracks in hardwood floors
- Baseboards and corners
- Use flea sprays or powders on carpets and upholstery. Choose pet-safe products, and don’t let your dog back into the area until it’s completely dry.
- Steam cleaning can help kill off fleas at all life stages.
- Don’t forget your own bedding, especially if your dog sleeps in your bed!
Fleas can lie dormant in the environment and reappear weeks later. The goal is to break the lifecycle entirely—not just treat what you see.
Regular Vacuuming and Cleaning Tips
Consistency is everything. Even after the visible flea problem seems gone, keep up these routines for a few more weeks:
- Change your vacuum bag or empty the canister immediately after vacuuming.
- Dispose of waste outside to avoid bringing fleas back indoors.
- Use diatomaceous earth as a natural powder on carpets—it dries out and kills flea eggs and larvae. Just be sure it’s food-grade and safe for pets.
Staying proactive with cleaning is your best line of defense against future infestations. Think of it as setting up a flea-free fortress around your home.
Frequently Asked Questions About Flea Baths
How Often Should I Give My Dog a Flea Bath?
It depends on the severity of the infestation and the product you’re using. For heavy infestations, you might need to bathe your dog every week for 2–3 weeks. But for maintenance, once a month should be enough—especially if you’re also using a flea preventive.
Avoid overbathing, as it can strip natural oils from your dog’s coat and dry out their skin.
Can Puppies Get Flea Baths Too?
Yes, but with extreme caution. Most flea shampoos are not safe for puppies under 12 weeks old. Always read the label and check with your vet before using any flea treatment on a puppy. For young pups, a flea comb and warm water bath may be safer until they’re old enough for medicated treatments.
What If My Dog Hates Water?
You’re not alone. Some dogs loathe baths. Try these tips:
- Use treats and positive reinforcement to make bath time less scary.
- Choose a quiet, non-slippery space.
- If possible, try outdoor baths in warm weather.
- If all else fails, dry flea sprays or wipes can help control fleas between full baths.
Gradually desensitizing your dog to water can make future baths less stressful.
Are Flea Collars a Better Option?
Flea collars can be effective but are often best used in combination with other methods like topical treatments or flea baths. Some high-quality collars, like Seresto, offer 8-month protection and repel fleas before they bite.
However, cheaper collars often don’t work well and may even cause skin irritation. Choose wisely based on your dog’s needs and sensitivities.
Will One Flea Bath Get Rid of All Fleas?
Probably not. A single bath may kill the fleas currently on your dog, but it won’t prevent new ones from jumping on or address eggs and larvae in your home. For full flea control, you need:
- Follow-up flea baths
- Consistent home cleaning
- Preventive treatments like topical drops or oral meds
Think of a flea bath as step one in a multi-step flea-fighting strategy.
Conclusion
Giving your dog a flea bath isn’t just about scrubbing away bugs—it’s about protecting your best friend from discomfort, disease, and stress. It takes time, patience, and the right approach, but the rewards are worth it: a happy, itch-free pup and a flea-free home.
Start with the right supplies, shampoo smart, and make bath time as calm and stress-free as possible. Don’t forget post-bath care, home cleaning, and ongoing prevention to truly win the battle against fleas.
Consistency is key, and with the right game plan, you can kick fleas to the curb and keep them there for good. Your dog deserves that—and so do you.
Please don’t forget to leave a review.